Randy Marc
2023/04/23
How to prevent password sharing for your WordPress website
We are excited to release our WordPress plugin officially. You can now add Rupt to your WordPress website via the plugin directory OR by downloading the script here and manually adding it to your WordPress plugins page.
Rupt is an account-sharing and password-sharing monitoring and prevention tool with the highest accuracy and least effort.
In this guide, we'll walk you through a step-by-step tutorial on how to add the Rupt plugin to your website. I know it's tempting to skip steps, but please read to the end to ensure a proper installation, and I promise I'll keep it short and to the point.
Step 1: Add the Rupt WordPress Plugin
There are two ways to add the plugin:
- Via the WordPress plugin directory.
- Manually by adding the file to the plugins page.
If you add the plugin via the WordPress plugin directory, you can move to Step 2.
If you choose to add it manually, follow these steps:
- Download the plugin file here.
- Navigate to the plugins page of your WordPress admin dashboard. Typically located in
/wp-admin/plugins.php - Click on
Add New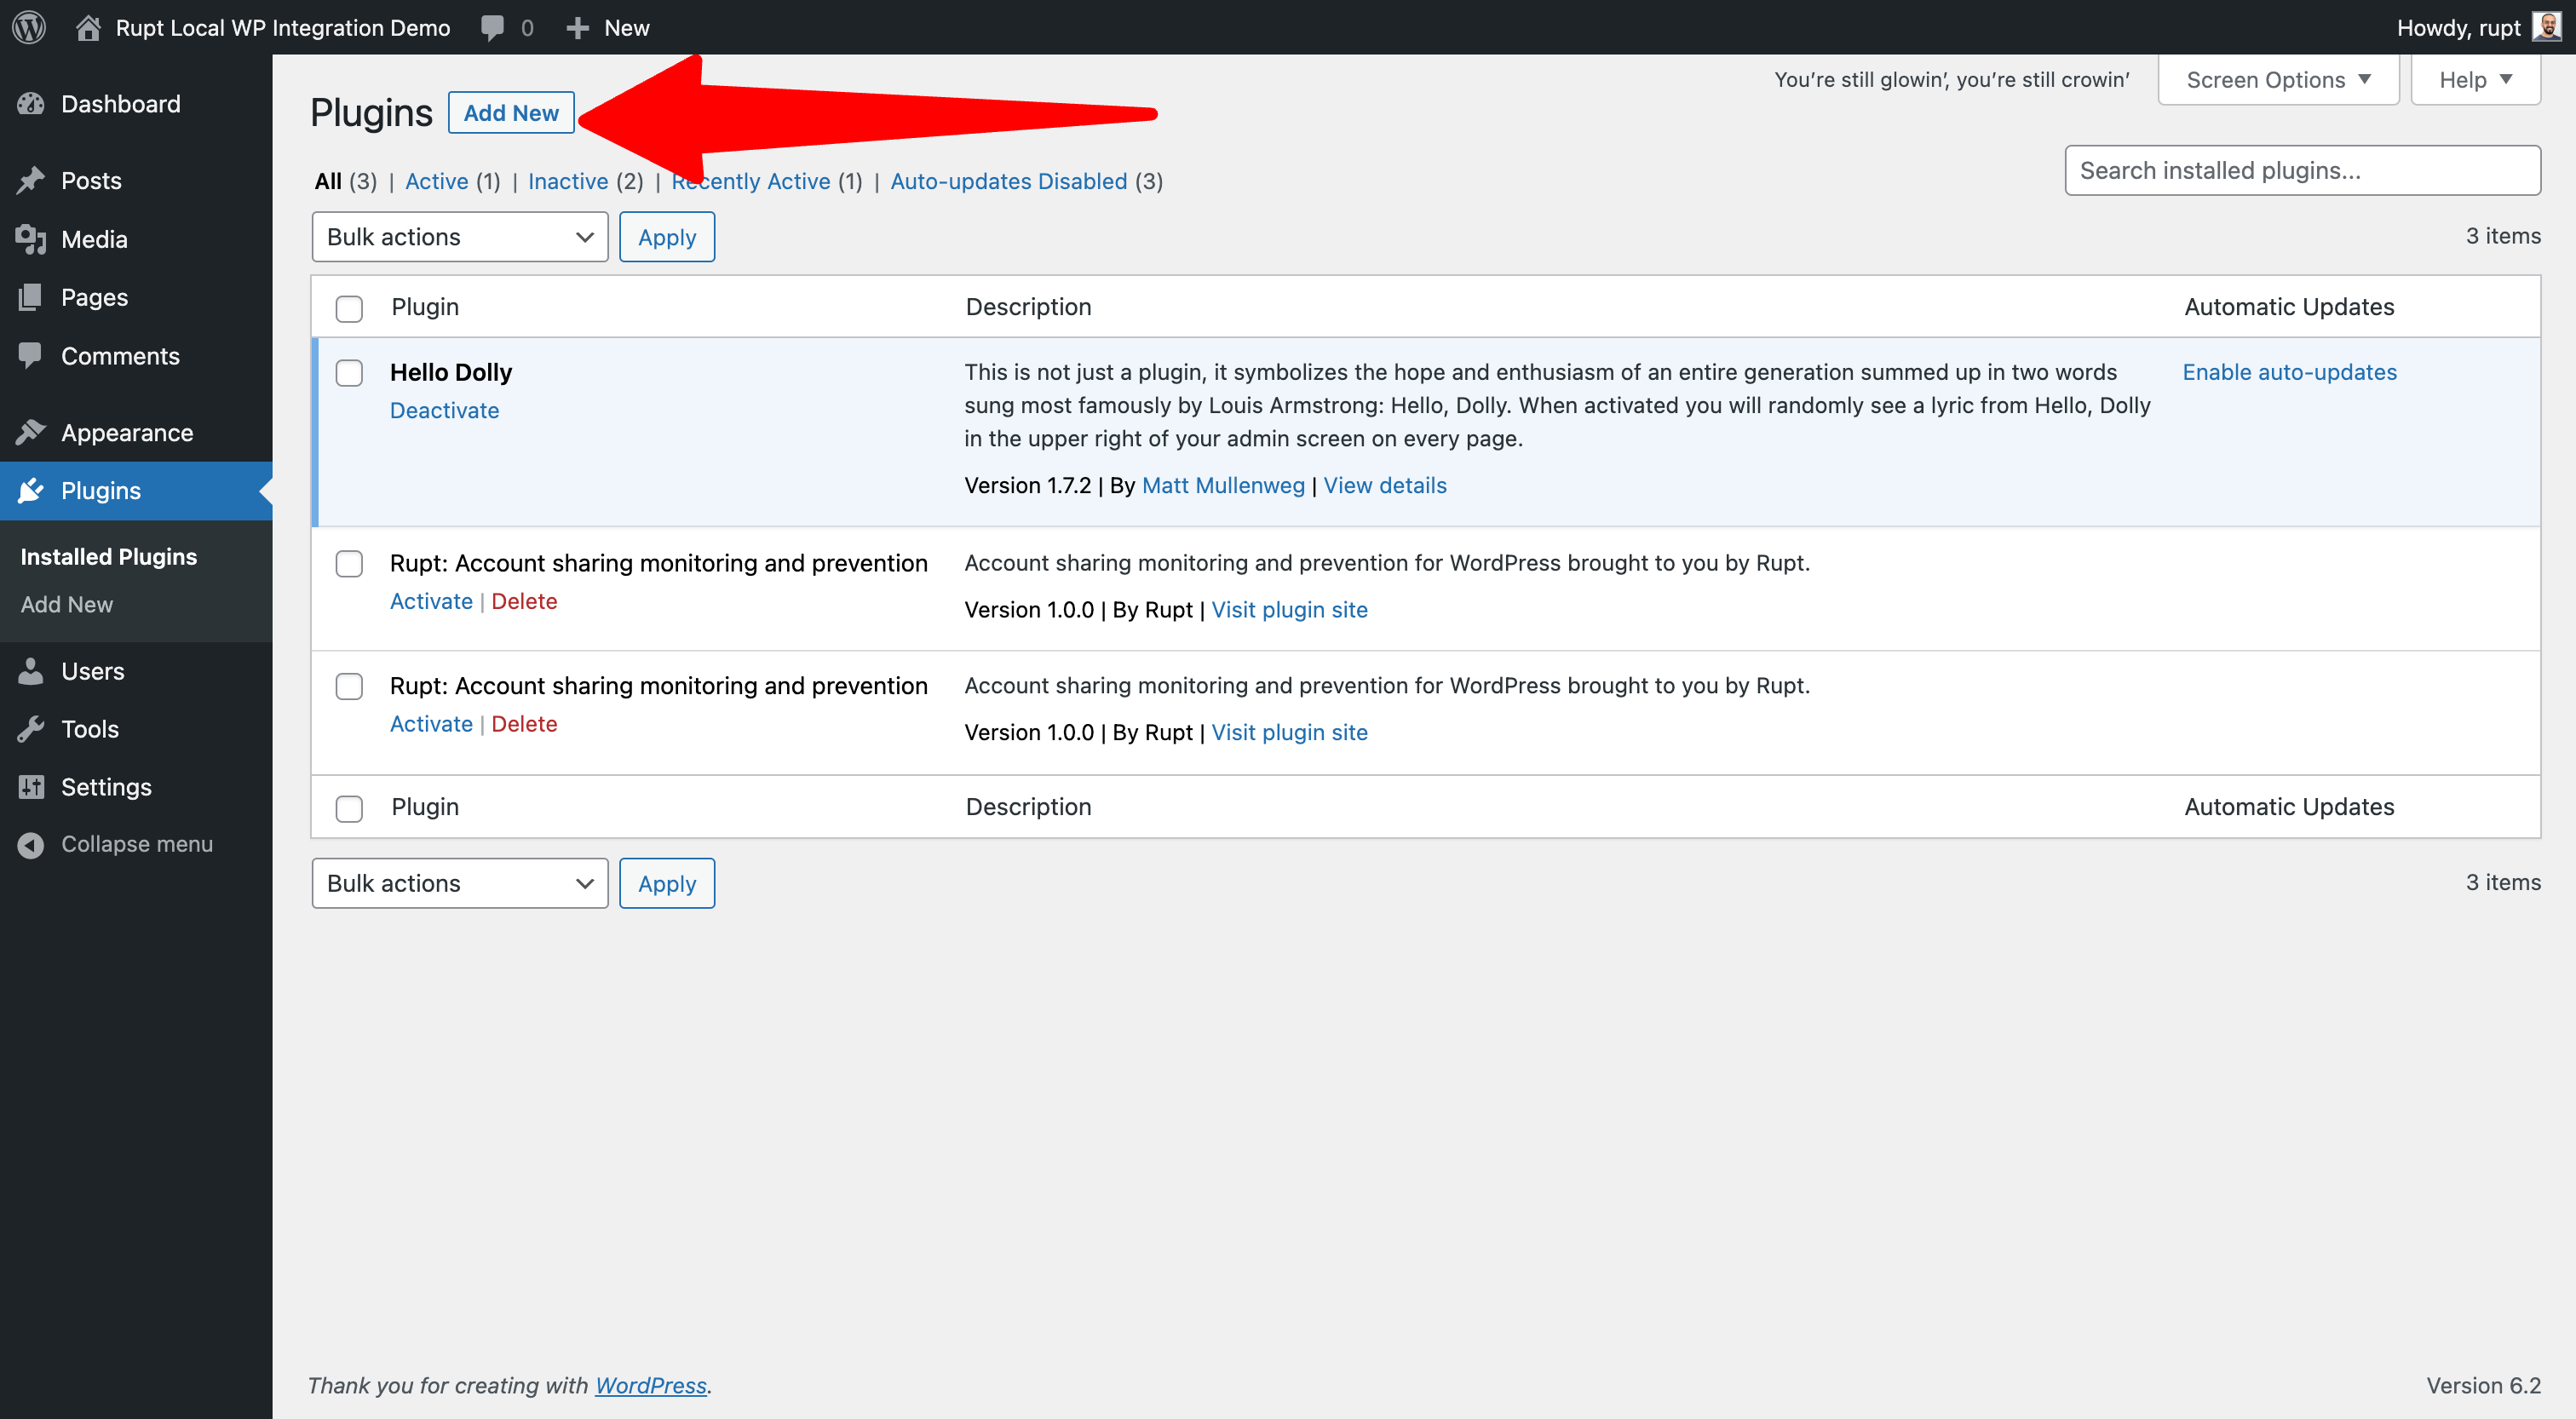
- Click on
Upload Pluginand choose the file you downloaded in the earlier step.
Step 2: Activate the plugin
After uploading the Rupt WordPress plugin, go to the plugins directory again (/wp-admin/plugins.php) and activate the plugin.

Step 3: Configure your Client ID
Go to the general settings page (/wp-admin/options-general.php) on your WordPress site and scroll to the bottom to see Rupt's settings. Add the Client ID found on your Rupt dashboard
You're done 🎉!
That's it. Visit your website to ensure that the plugin is working.
Be sure to use a Production Client ID (under the API Keys on your Rupt dashboard). You can start with a development Client ID, but you must switch to a Production Client ID for production websites.
If you have any questions, don't hesitate to reach out to us at support@rupt.dev